
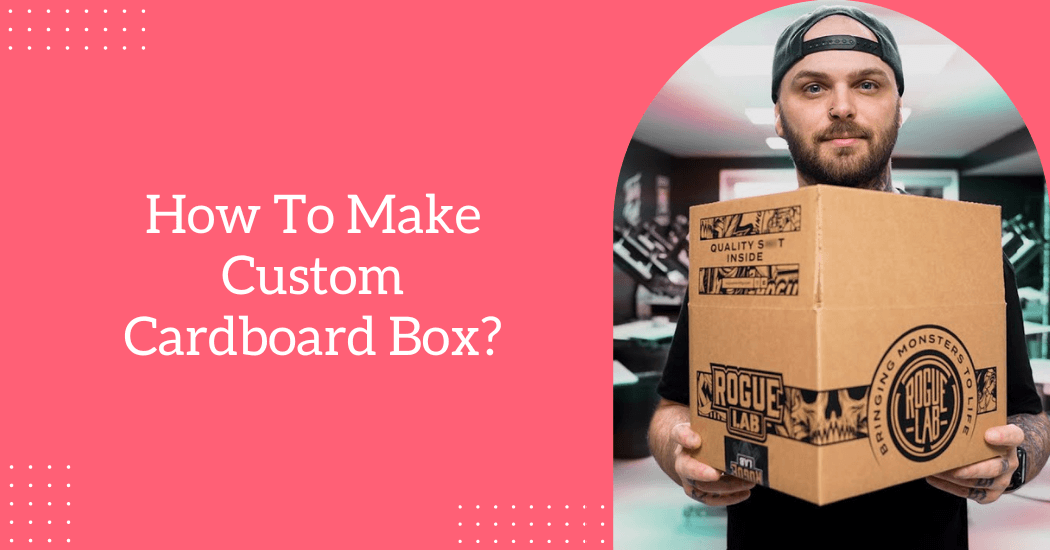
How to make a custom cardboard box?
Are you looking for a way to make custom cardboard boxes? Whether you’re running a small business or simply want to get creative with storage and organization solutions, crafting corrugated cardboard designs is an ideal option. Not only are they environmentally friendly and budget-friendly but customized cardboard crafts can be designed around your exact specifications.
With so many different options available, it can be difficult to know where to start when making your own customized cardboard box. With the right materials and some careful planning, making a custom box can be easy and cost-effective
In this blog post, we will show you exactly how it’s done step by step! We will provide detailed instructions on every stage of the process to ensure that each reader knows how to make their custom box quickly and easily. So read on.
Custom Cardboard Box Making Process
Materials and tools that are needed
Making and designing custom cardboard boxes can be a fun and creative task. You will need some essential materials and tools to get started. Some of the items you will need include:
- Cardboard Sheets: The primary material for your project. Consider corrugated cardboard for enhanced sturdiness and longevity.
- Box Cutter or Utility Knife: Fundamental for trimming the cardboard sheets into your preferred size and shape.
- Ruler and Measuring Tape: Precision is key in crafting a perfect box use a ruler for straight lines and a measuring tape for longer distances.
- Pencil or Marker: Essential for marking your cutting and folding points on the cardboard.
- Adhesive: A variety of adhesives can work, from strong, quick-dry glues suitable for cardboard like white glue, craft glue or even wood glue to tapes such as packaging, masking or duct tape for securing edges. A hot glue gun offers a rapid, sturdy bond but use with care due to high temperatures.
- Straight Edge or Metal Ruler: Ideal for ensuring neat, straight cuts and fold lines.
- Bone Folder or Scoring Tool: Handy for creating clean, exact fold lines in the cardboard.
- Protective Gear: Safety always matters. Depending on your comfort level, gloves, safety glasses and a dust mask might be useful when handling cardboard and glue.
- Design Template (optional): A template or pattern can simplify the creation of complex or unique box designs.
- Work Surface: A spacious, clean workspace with good lighting is crucial for accurate measurements and safe cutting.
Remember, crafting custom cardboard boxes requires a careful approach and attention to detail. Thorough planning and precise measurement are the keys to your desired outcome.
Steps to make a custom cardboard box
- Design and Measurements: Start by deciding the size of your custom box. Measure the desired length, width and height, making sure to account for the cardboard’s thickness in your calculations.
- Cutting the Cardboard: Lay your corrugated cardboard on a cutting mat or a suitable surface. Use a ruler and pencil to mark each side of your box’s dimensions on the cardboard. To ensure straight lines, use a straight edge or metal ruler as your guide. Then, carefully cut along the marked lines using a box cutter or utility knife. Aim to cut through the top layer of the cardboard without penetrating the corrugated layer.
- Creating Flaps: Each side of the box needs flaps that will be folded and adhered to put together the box. These are essentially the tabs that hold the box together. Measure and mark the tabs on the cardboard’s edges, leaving sufficient space for folding and attaching. Typically, the flaps should be about 1-1.5 inches wide.
- Scoring the Cardboard: Scoring the cardboard along the fold lines makes folding easier and neater. Use a utility knife to gently score the cardboard along the fold lines, taking care not to cut all the way through. This assists the cardboard to bend more smoothly without breaking.
- Assembling the Box: Start assembly by applying adhesive to the flaps of one side. Carefully fold the tabs and attach them to the adjacent side to form the box corners. Hold the pieces until the glue sets or the tape adheres firmly. Repeat this for all sides of the box.
- Bottom of the Box: To create the box bottom, cut a piece of cardboard that fits the base dimensions. Then attach this piece to the flaps using adhesive.
- Top of the Box: For a removable lid, follow the earlier steps of measurement, cutting and attaching flaps. Alternatively, attach a longer piece of cardboard along one box side to construct a hinged lid.
- Finishing Touches: Decorate your assembled box with decorative paper, paint, markers, stickers or any other creative materials.
- Allow for Drying: If you used glue, make sure to let the box dry completely before using it. To determine the drying time, follow the manufacturer’s instructions.
Remember, mastering the process might take a few attempts, so prioritize safety when handling the utility knife and ensure you’re working on a stable surface.
Advantages of making a custom cardboard box
Creating your own custom cardboard box isn’t just fun and creative, it also comes with a host of benefits tailored to your specific requirements. Here are some notable advantages:
- Customized Dimensions: Design your boxes to fit the exact size and shape of their contents, curbing unnecessary packaging and optimizing space during transit and storage.
- Distinct Branding: Stand out with your unique designs, logos and colors that reflect your brand, enhancing its recognition and creating a lasting impact on customers.
- Enhanced Protection: A custom box can be designed for optimal protection, with additional padding or inserts to prevent damage during transportation.
- Cost Effectiveness: The upfront investment in custom boxes can result in long-term savings by reducing waste, cutting down shipping costs and maximizing storage space.
- Eco-friendly Option: Opt for eco-friendly materials when designing your custom box, reducing environmental impact and attracting eco-conscious consumers.
- Memorable Unboxing Experience: Elevate the customer’s unboxing journey with unique designs and special features, adding a touch of excitement and surprise.
- Price Negotiation: The bulk ordering of custom boxes could allow for price negotiation, reducing overall packaging costs.
- Exclusive Promotions: For special events or promotions, custom boxes add a layer of exclusivity and anticipation to your products.
Disadvantages of making a custom cardboard box
While making a custom cardboard box offers many advantages, it also comes with its own set of disadvantages. Here are some potential drawbacks to consider:
- Upfront Cost: The upfront cost of designing and producing custom boxes can be expensive, especially for smaller businesses.
- Lead Time: Custom boxes require more time for production compared to stock options, so make sure to plan and factor in the lead time.
- Limited Quantities: Due to the extra cost, custom boxes are usually ordered in limited quantities, which may not be suitable for larger businesses.
- Difficulty with Recycling: Depending on your design choices, custom boxes may be difficult to recycle due to non-standard sizes or materials used.
- Storage Issues: Custom boxes may not fit well with existing storage solutions, meaning you’ll need to allocate new space for them.
Making the right decision for your business depends on a variety of factors, from budget and timeline constraints to packaging goals and distribution needs. Consider the advantages and disadvantages to ensure your custom boxes create a lasting impact on customers without disrupting your bottom line.
Also Read: How Much Does a Cardboard Box Weigh?
Tips for successfully making custom cardboard boxes
Creating custom cardboard boxes requires careful planning and attention to detail. Here are some tips that can make the process smoother:
- Start with a Template: Before you start designing, create a template for your box based on the size and shape of the product you wish to pack. This will help you stay organized while also allowing you to customize the design.
- Use Quality Materials: Opt for quality cardboard and other materials that are not only sturdy but also easy to work with, ensuring a longer lifespan for your box.
- Consider Custom Features: Adding features like perforated lines or handles can make it easier to open and carry the box, adding value to the customer experience.
- Invest in the Right Tools: Having the right tools makes a huge difference when cutting and assembling your custom cardboard box. Consider investing in a utility knife, glue sticks and a cutting mat for smoother operations.
- Pay Attention to Details: During the cutting and assembly process, pay careful attention to details such as fold lines and tape placement. Otherwise, you could end up with an uneven shape or a weak structure that fails to provide adequate protection.
- Stay On Budget: Creating custom boxes can be costly, so create a budget and stick to it to ensure you don’t overspend. Consider ordering in bulk or negotiating for discounts if possible.
By following these tips, you’ll have the perfect custom cardboard box that meets your needs, protects your products and enhances the customer experience. Your creativity will be the limit to what you can create!
Wrap Up
In conclusion, crafting a custom cardboard box is a creative and practical endeavor that offers a range of benefits, from personalized packaging solutions to cost-effective storage options.
By following the steps outlined in this guide, one can successfully design, measure, cut, assemble and customize a cardboard box to suit specific needs. The process requires attention to detail, precision and patience but the end result is a tailor-made container that reflects individual preferences and serves its intended purpose effectively.